

Menu Card Sizes and Shapes
Menu cards come in a few standard sizes. The most common are A5, A6, and DL (a slim rectangle that fits a standard envelope). A5 is a good choice for a full three-course menu with descriptions. A6 works well for a simple list of dishes. DL is elegant for a single column of text.
Think about how the card will sit on the table. A flat card can lie next to the plate or on the side plate. A tent card folds in half and stands up, which is easy for guests to read without picking it up. A single card with a stand is another option, but it adds an extra item to buy or make.
If you are having a buffet or a family-style meal, you might not need individual menu cards. Instead, one large framed menu on each table can save paper and cost. For a formal plated dinner, a card at each place setting is more traditional.
Place Card Sizes and Shapes
Place cards are usually smaller than menu cards. Common sizes are 90mm by 55mm (about the size of a credit card) and 85mm by 55mm. A smaller card, such as 70mm by 50mm, works well for a table with many guests. The card should be big enough for a name to be read easily from across the table.
Place cards can be flat, tented, or shaped. Tented cards stand up on their own and are the most popular. Flat cards can be propped against a glass, a napkin, or a favour. Shaped cards, such as hearts or leaves, are lovely but can be harder to write on clearly.
If you are using a seating chart instead of individual place cards, you can skip place cards entirely. A seating chart lists each guest's name and table number. Some couples use both: a seating chart for the entrance and place cards on the tables. That is fine, but it is extra work and cost.
From us
Website packages · Wedding print Wedding websiteE-Invite£149 one-offOne beautiful page with the details, a map and a family RSVP, sent by link, QR code or WhatsApp.See E-Invite →
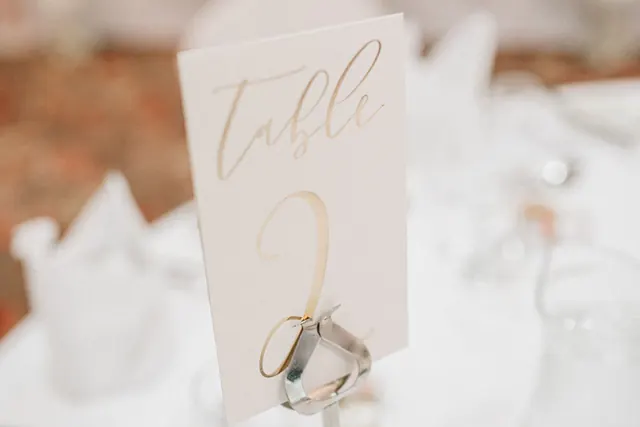 Wedding printTable numbers and place cardsfrom £14.52Folded tent cards for table numbers, table names, place cards and drink menus.Design it online →
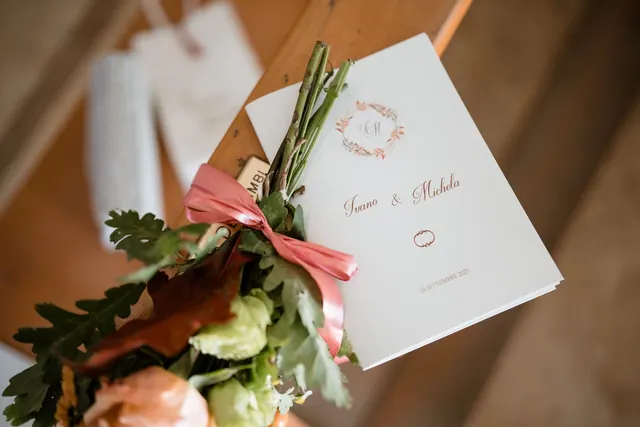 Wedding printOrder of service bookletsfrom £78.64Stapled booklets for the order of service, hymns, readings and the people in your wedding party.Design it online →
 Wedding printFolded menus and programmesfrom £48.78Creased and folded cards for menus, a simple order of service or the plan for the day.Design it online →
 Paper Weight and Finish
Paper weight is measured in grams per square metre, often written as gsm. For menu and place cards, a weight between 300 and 400 gsm feels sturdy and premium. Below 250 gsm can feel flimsy and may bend on the table. Above 400 gsm is very thick and may be hard to fold into a tent shape.
Finish matters too. A matte finish is easy to write on with a pen. A gloss or silk finish looks shiny and elegant but can smudge if you write on it with a regular pen. If you are printing names at home, choose a matte or uncoated card. If you are having them printed professionally, the print shop can handle the finish.
Recycled card is a good eco-friendly choice. It has a slightly textured feel and works well with most inks. Just check that it is thick enough for your purpose. You can also ask your printer for a sample before you order the full set.
Printing Options: Digital, Letterpress, and Home
Digital printing is the most common and affordable option for small quantities. It gives crisp text and can print in full colour. It is ideal for menu cards with a photo or a coloured background. Most local print shops and online printers offer digital printing.
Letterpress or foil printing gives a raised, tactile finish. It is more expensive and takes longer, but it looks very elegant. This works best for simple designs with a limited colour palette. If you have a large guest list, letterpress may push your budget, so consider using it only for place cards or a few menu cards.
Printing at home is possible if you have a good printer and the right card. You can buy blank tent cards and run them through a printer, but check your printer's paper path first. Some printers cannot handle thick card. If you print at home, test one card first. Use a high-quality ink and let the cards dry before stacking them.
How to Use Guest Names on Place Cards
Write the guest's name exactly as they like to be called. Use the name they use in daily life, not the formal name on their passport. For example, write "Alex" not "Alexander" unless they prefer the longer form. For a couple, write each person's full name on separate cards, not "Mr and Mrs Smith" unless that is how they are known.
For same-sex couples, write both names on separate cards in the same style. For guests with titles, use their title if they use it socially, such as "Dr" or "Rev". For children, use their first name or first name and surname if there are two children with the same first name.
If you are unsure how to spell a name, ask the guest or a close family member. A misspelled name on a place card is a small but noticeable mistake. Also consider dietary needs: some couples add a small symbol or letter on the place card to tell the waiting staff about a vegetarian, vegan, or allergy meal. Keep this discreet, such as a tiny "V" in the corner.
How Many Cards to Order and When to Print
Order one menu card per guest for a plated meal. For a buffet, you may only need one or two per table. Order a few extra menu cards in case of spills or damage. For place cards, order one per guest, plus a handful of blanks in case a guest's name changes or you make a writing mistake.
Print menu cards once you have confirmed the final menu with your caterer or venue. This is usually four to six weeks before the wedding. Print place cards once you have finalised the seating plan, which is often two to three weeks before the wedding. Do not print place cards too early, as guests may change their attendance.
If you are writing place cards by hand, give yourself a quiet evening to do it. Use a fine-tipped pen in a colour that contrasts with the card. Practise on scrap paper first. If you are having them printed, send the guest list in a spreadsheet with clear columns for first name, last name, and table number.
Alternatives to Traditional Cards
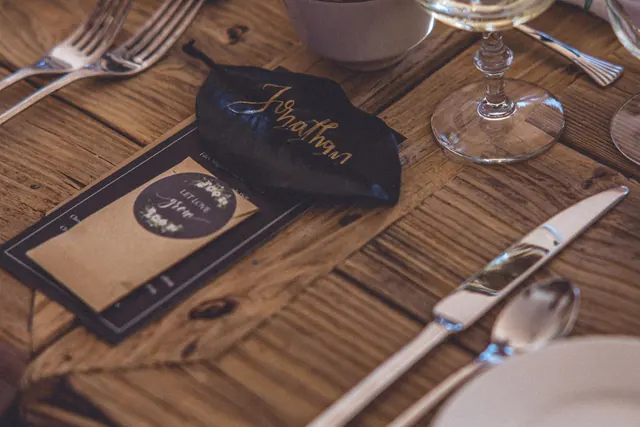
You do not have to use paper cards. For a more sustainable option, write names on small wooden tags, slate tiles, or leaves. These can double as favours if you attach a small gift. For a modern look, use acrylic or glass place cards that stand in a holder.
For menu cards, you could print the menu on a single sheet per table and place it in a frame. Or write the menu on a large mirror or chalkboard at the entrance. Some couples put the menu on the back of the order of service booklet, saving paper and printing cost.
If you are using a wedding website, you can share the menu online before the day, but still have a physical card on the table for guests who want to know what is coming. The physical card is also useful for guests with allergies who need to see the full list of dishes.
Checklist
- Decide on menu card size (A5, A6, or DL) based on your menu length.
- Choose place card size (90x55mm or 85x55mm) and shape (tent, flat, or shaped).
- Select paper weight between 300 and 400 gsm for a sturdy feel.
- Pick a matte finish if you are writing names by hand.
- Confirm your final menu with the caterer before printing menu cards.
- Finalise your seating plan before printing place cards.
- Write guest names exactly as they prefer, and double-check spellings.
- Add discreet dietary symbols on place cards if needed.
- Order a few extra cards of each type for mistakes or spills.
- Consider alternatives like framed menus, wooden tags, or a seating chart.
Questions on this topic
- What goes in order of service for a wedding?
- What is the typical order of service for a wedding reception?
- Who speaks in what order at a wedding?
- Can I create my own order of service for my wedding?
- Who walks down the aisle in a traditional wedding?
- Who typically walks down the aisle first during a wedding ceremony?
- Who says vows first, husband or wife?
- What does an order of service look like for a wedding?

 Wedding invitations
 Save the date cards
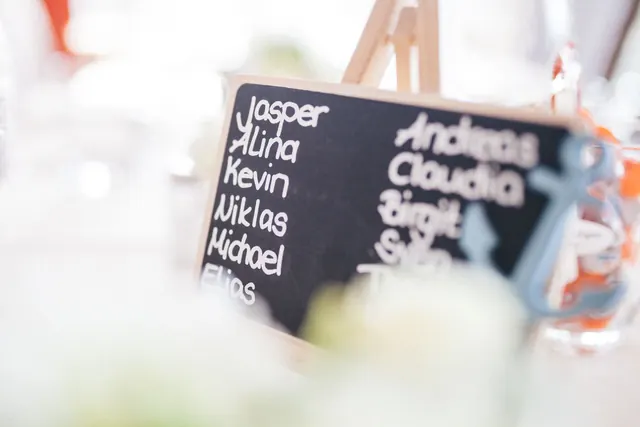 Table plan boards
 Welcome signs
 Thank-you cards