

Short answer
Print first, then cut. Load your card into your printer, print the design, let the ink dry fully, then place the printed sheet into your cutting machine and run the cut file that matches your design.
The key is to separate printing from cutting. Design your invitation in your software, then create two files: one for the printer and one for the cutting machine. Print your card first, using the best print quality your printer offers. Let the ink dry completely, which can take a few hours depending on your card and ink. Then load the printed sheet into your cutting machine, using the registration marks to align the cut. Set the blade depth and pressure for your card weight, and do a test cut on a scrap piece first. If you are cutting intricate shapes or lettering, use a lighter card or a card with a smooth surface. For envelopes, cut them separately from a different file. Always keep a spare printed sheet in case a cut goes wrong. Remember that cutting machines work best with flat card, so avoid heavily textured paper unless you have tested it. You can also use the machine to score fold lines before cutting, which gives a clean fold for your invitation cards.
People also search
- foil wedding invitations cricut
- how to make foil wedding invitations with cricut
From us
Website packages · Wedding print Wedding websiteE-Invite£149 one-offOne beautiful page with the details, a map and a family RSVP, sent by link, QR code or WhatsApp.See E-Invite →
 Wedding websiteSignature£749 one-offUnlimited events, bilingual wording, your own domain, guest photo upload and a live stream page.See Signature →
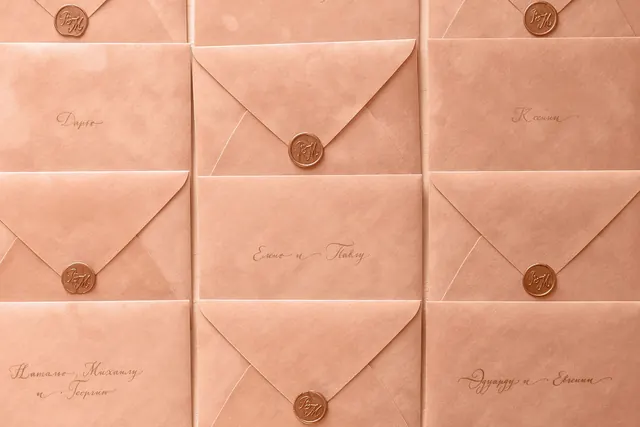 Wedding printPrinted wedding invitationsfrom £36.28Printed invitations and save the dates on quality card, with a QR code that opens your wedding website.Design it online →
 Wedding printThank-you cardsfrom £42.34Folded thank-you cards with your favourite photo from the day on the front.Design it online →
 Answers from couples and guests
No answers from readers yet. Been through this yourself? Share what worked for you.
Add your answer
Related questions
- How do you make foil wedding invitations with a cutting machine?
- Where can I print my own wedding invitations in the UK?
- Is it actually cheaper to DIY wedding invitations?
- What type of paper should I print my wedding invitations on?
- What is the best website to print wedding invitations?
- What is the cheapest way to print wedding invitations?
From other topics


 Save the date cards
 Order of service booklets
 Table plan boards
 Welcome signs