

Choosing the Right Printer for Wedding Invitations
Your printer makes the biggest difference. A standard inkjet printer can work well if you use the right paper and settings. Laser printers give a sharper finish, especially for text, and they handle thicker card more reliably. Check your printer's maximum paper weight before you buy card. Most home printers handle up to 250 or 300 gsm, but some struggle with thick card. If your printer jams, try feeding one sheet at a time through the manual slot.
For the best results, set your printer to 'photo' or 'high quality' and choose the 'thick paper' or 'cardstock' setting if available. Print a test on plain paper first, then on a scrap piece of your actual card. This saves waste and lets you check alignment and colour.
What GSM and Paper Weight Should You Use for Wedding Invitations?
GSM means grams per square metre, and it tells you how thick and heavy the paper is. For wedding invitations, aim for 250 to 300 gsm. This feels substantial without being too bulky for a home printer. 250 gsm is a good all-rounder; 300 gsm feels more luxurious but may be harder to feed. Avoid anything below 200 gsm, as it will feel flimsy and look like everyday printing.
For the inner card or details card, you can use a lighter weight, around 200 to 250 gsm. This keeps the overall suite neat and easy to assemble. If you want a textured finish, look for 'linen' or 'laid' card, but test it first because textured surfaces can cause ink to smudge.
From us
Website packages · Wedding print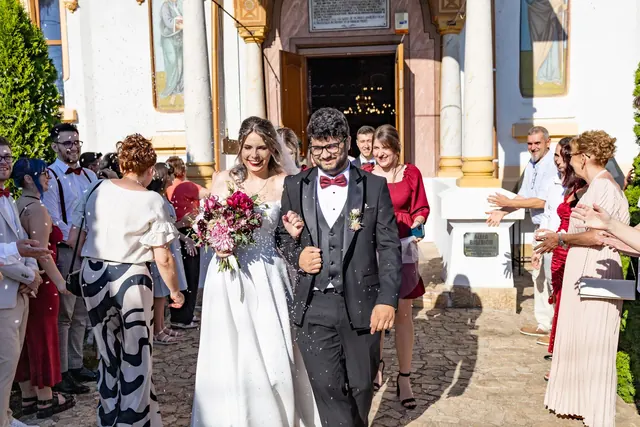 Wedding websiteE-Invite£149 one-offOne beautiful page with the details, a map and a family RSVP, sent by link, QR code or WhatsApp.See E-Invite →
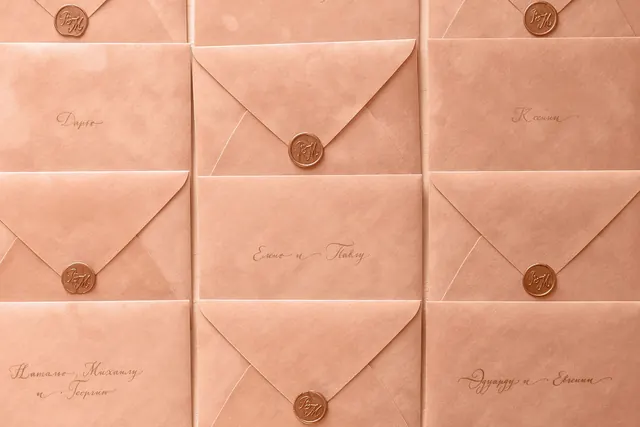 Wedding printPrinted wedding invitationsfrom £36.28Printed invitations and save the dates on quality card, with a QR code that opens your wedding website.Design it online →
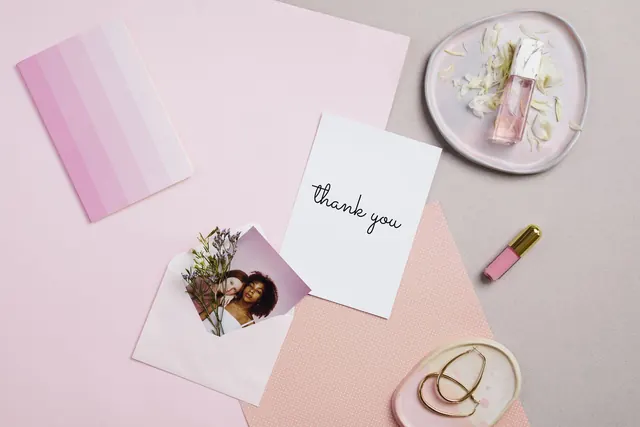 Wedding printThank-you cardsfrom £42.34Folded thank-you cards with your favourite photo from the day on the front.Design it online →
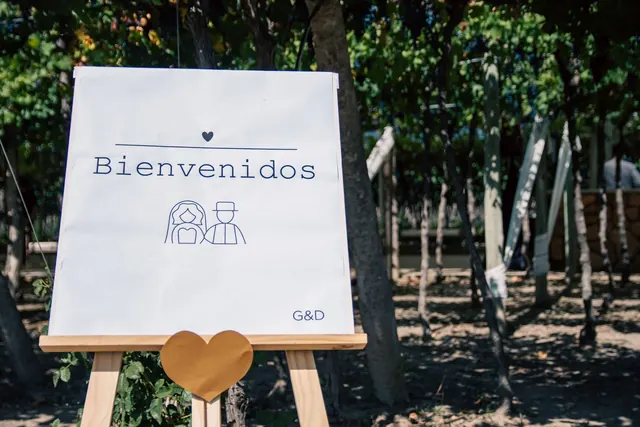 Wedding printWedding welcome signsfrom £20.38Rigid welcome boards for the entrance or an easel, printed with your names and date.Design it online →
 What Size Cardstock and Envelope Should You Use for Wedding Invitations?
In the UK, the standard wedding invitation size is A6, which is 105 by 148 mm. A5 (148 by 210 mm) is also common for a larger, more formal feel. A6 fits neatly into a C6 envelope (114 by 162 mm). A5 needs a C5 envelope (162 by 229 mm). If you want a square invitation, a common size is 140 by 140 mm, which needs a 150 by 150 mm envelope. Square envelopes may cost more to post, so check with the Royal Mail.
When you design in software, set your document to the exact size of your card, plus a 3 mm bleed if your design goes to the edge. Add a safe margin of about 10 mm inside so nothing important gets cut off. If you're printing at home, you can skip the bleed and just print with borders, which looks clean and avoids trimming.
How to Print on Cardstock Without Smudging or Jamming
To avoid smudges, let each sheet dry completely before stacking. Inkjet ink can stay wet for a minute or two, especially on coated card. Print one sheet at a time and lay them out to dry. Use the 'plain paper' setting if your printer is smudging, because a lower ink volume dries faster. For laser printers, the toner is fused with heat, so smudging is less of a problem.
If your printer jams, check that the card is not too thick for the paper path. You can also try fanning the sheets to separate them, and make sure the card is stored flat. If the card curls, place a heavy book on top for a few hours before printing. Always use the rear or manual feed slot if your printer has one, as it gives a straighter path.
Finishing Tricks to Avoid a Homemade Look
The finish is what makes invitations look professional. Start with a clean, even cut. If you trim your card, use a paper trimmer or a craft knife with a metal ruler for straight edges. A guillotine is easier for multiple sheets. Avoid scissors, which leave wavy edges.
Add a liner to your envelope. You can cut a piece of decorative paper slightly smaller than the envelope and glue it inside. This is a simple touch that looks expensive. Use double-sided tape or a glue stick to attach it.
Consider adding a belly band, a strip of paper or ribbon that wraps around the invitation. This adds structure and hides any slight misalignment. You can also add a wax seal on the envelope or the belly band. Wax seals are easy to do at home with a kit, and they give a classic, handcrafted feel.
If you want a foil effect, you can buy foil transfer sheets and use a cutting machine that has a foil tool. This works with many home cutting machines. You design your text or pattern, and the machine presses the foil onto the card. It's a budget-friendly way to get a metallic finish without sending your invitations to a print shop.
How to Gold Foil Wedding Invitations at Home
Gold foil adds a premium touch, and you can do it at home with a few tools. The most common method is using a cutting machine with a foil tool and foil transfer sheets. You create your design in the machine's software, then the machine applies pressure and heat to transfer the foil onto your card. This works best with smooth card, not textured.
Another method is using a laminator and foil sheets. You print your design with a laser printer, place the foil sheet on top, and run it through a laminator. The toner attracts the foil, leaving a metallic finish on the printed areas. This works only with laser printers, not inkjet. Test on a scrap piece first to get the temperature right.
If you don't have a cutting machine, you can use a foil pen or a glue pen with foil sheets. Draw your design with the glue pen, wait for it to become tacky, then press on the foil and rub gently. This is more time-consuming but works for small details like a monogram or a border.
Putting It All Together: A Professional-Looking Invitation Suite
A professional invitation suite has layers. Start with the main invitation on 300 gsm card. Add a details card on lighter card, with the date, venue and RSVP information. Use a single colour scheme and one or two fonts at most. Keep the layout simple with plenty of white space.
Use a consistent alignment. Centre-aligned text looks formal; left-aligned is more modern. Choose a classic font like a serif for the main text and a script for names if you want. Make sure the font size is readable, at least 10 points for body text.
Assemble the suite with the main invitation on top, then the details card, and any other inserts like a map or a reply card. Wrap them in a belly band or place them in a pocket folder. Use a good quality envelope and handwrite the addresses for a personal touch, or print address labels on clear labels for a cleaner look.
Finally, weigh your finished invitation to check the postage. You can take it to the post office to be weighed, or use a kitchen scale. Add the correct stamp, and you're ready to send.
Checklist
- Check your printer's maximum paper weight before buying card.
- Choose 250 to 300 gsm card for the main invitation.
- Use A6 or A5 card and matching C6 or C5 envelopes.
- Design with a 3 mm bleed and a 10 mm safe margin.
- Print a test on plain paper and on a scrap of card.
- Let inkjet prints dry completely before stacking.
- Use a paper trimmer for clean, straight edges.
- Add an envelope liner or belly band for a professional finish.
- Try foil transfer with a cutting machine or laminator for metallic accents.
- Weigh your finished invitation to ensure correct postage.
Questions on this topic
- How much should 50 wedding invitations cost?
- Where can I print my own wedding invitations in the UK?
- What is the usual size of wedding invitations?
- What is the best way to print invitations?
- How much do save the date usually cost?
- What are the trends in wedding invitations for 2026?
- Is it cheaper to make your own wedding invites?
- What is the average cost of wedding invitations?
 Save the date cards
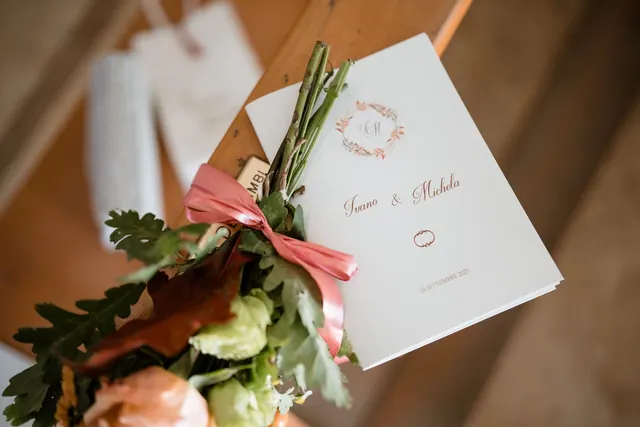 Order of service booklets
 Table plan boards