

Standard Wedding Invitation Sizes in the UK
In the UK, the most common wedding invitation size is A6, which measures 105 mm by 148 mm, or 10.5 cm by 14.8 cm. This is a compact, classic size that fits neatly into a C6 envelope. Many couples choose A5 invitations, which are 148 mm by 210 mm, or 14.8 cm by 21 cm, and these need a C5 envelope. A5 invitations give you more room for wording, a map, or a separate details card.
Square invitations are also popular. A common square size is 140 mm by 140 mm, or 14 cm by 14 cm. Square envelopes are widely available, but they can cost a little more to post because they are not standard rectangular shapes. If you want a larger, more luxurious feel, you might choose a 210 mm by 210 mm square, which is 21 cm by 21 cm. Always check your envelope size before you finalise your design.
Envelope Sizes for Wedding Invitations
Your envelope size depends on your invitation size. For an A6 invitation, use a C6 envelope, which measures 114 mm by 162 mm, or 11.4 cm by 16.2 cm. For an A5 invitation, use a C5 envelope, which is 162 mm by 229 mm, or 16.2 cm by 22.9 cm. If you are adding extra inserts, such as a details card or an RSVP card, you may need a slightly larger envelope, such as a DL envelope for A6 invitations. A DL envelope is 110 mm by 220 mm, or 11 cm by 22 cm, and it fits an A6 invitation folded in half.
For square invitations, you will need square envelopes that match your size. A 140 mm square invitation fits a 140 mm square envelope, but check the depth of the envelope to allow for thickness. Always order a sample envelope first to test how your invitation and any inserts fit. Remember that you need two witnesses at the ceremony, but that does not affect your envelope size.
From us
Website packages · Wedding print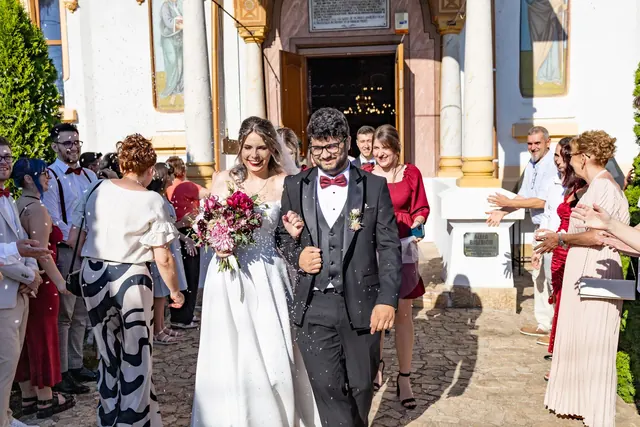 Wedding websiteE-Invite£149 one-offOne beautiful page with the details, a map and a family RSVP, sent by link, QR code or WhatsApp.See E-Invite →
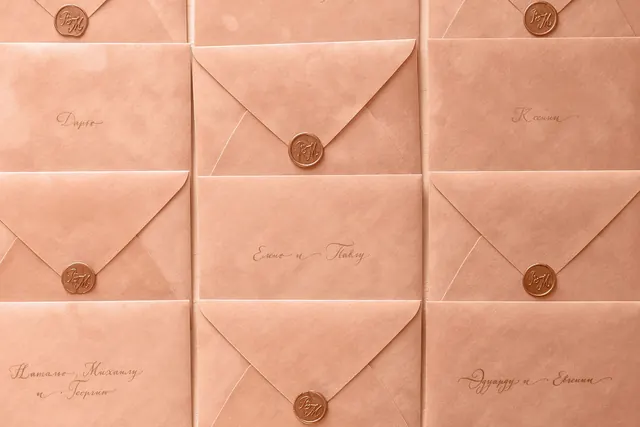 Wedding printPrinted wedding invitationsfrom £36.28Printed invitations and save the dates on quality card, with a QR code that opens your wedding website.Design it online →
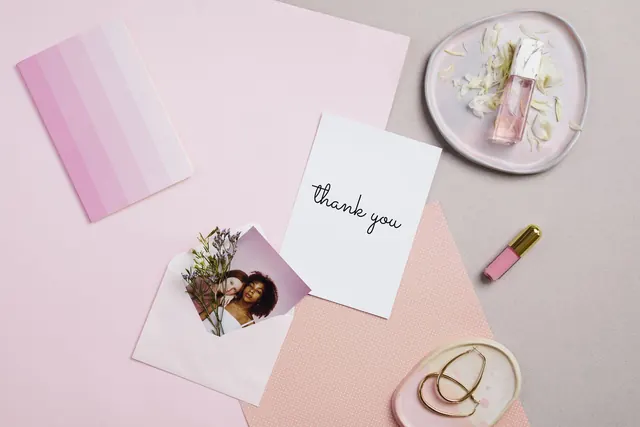 Wedding printThank-you cardsfrom £42.34Folded thank-you cards with your favourite photo from the day on the front.Design it online →
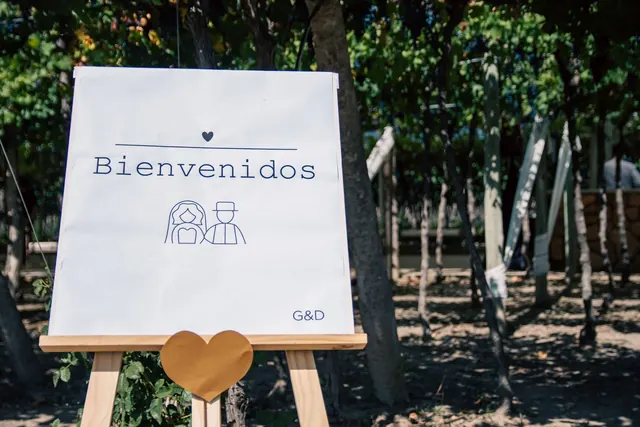 Wedding printWedding welcome signsfrom £20.38Rigid welcome boards for the entrance or an easel, printed with your names and date.Design it online →
 Design Software Dimensions for a Perfect Fit
When you design your invitation in software, set your document size to the exact final size of your invitation, not the envelope size. For an A6 invitation, set your canvas to 105 mm by 148 mm. For an A5, set it to 148 mm by 210 mm. If you are designing a square invitation, set your canvas to your chosen square size, for example 140 mm by 140 mm.
Add a bleed of at least 3 mm on each side. Bleed is the extra space outside the trim line that ensures your background colour or image goes right to the edge after cutting. In your software, set the bleed area to 3 mm, and keep any important text or graphics at least 5 mm away from the edge to avoid them being cut off. When you export your file, choose a high resolution, such as 300 dots per inch, and save it as a PDF. This gives the print shop the best quality file to work with.
Printing Wedding Invitations at Home: Paper and Printer
If you print at home, choose a paper that is at least 250 grams per square metre, or gsm. A 300 gsm card feels sturdy and premium. For a soft, textured look, you might choose a cotton or linen finish paper. Always buy a small sample pack first to test how your printer handles the weight and finish.
For printing, you need a printer that can handle thick card. Many inkjet printers can print on card up to 300 gsm, but check your printer's specifications. Look for a printer with a straight paper path, as this reduces curling and jams. Laser printers can also work, but they may not accept very thick card. Always do a test print on plain paper first, then on your actual card, to check alignment and colour. If you are adding foil, you will need a cutting machine, such as a die-cutting machine, that can apply foil using a heated tip or a foil quill.
How to Make Foil Wedding Invitations with a Cutting Machine
Foil adds a shiny, metallic finish to your invitations. You can do this at home with a cutting machine that has a foil tool. First, design your invitation in your software, and create a separate layer for the parts you want to foil, such as your names or a border. Then, load your card into the machine with a foil sheet on top, and run the foil tool over the design. The heat and pressure transfer the foil onto the card.
You can also use a laser printer to print a toner-based design, then run the printed card through a foil fuser. The foil sticks only to the toner. This method works well for detailed designs. For gold foil, use a gold foil sheet. Always test on scrap card first to get the right settings. Remember that foil is a decorative finish, so it does not affect the legal requirements of your wedding, but it does make your invitations feel special.
Choosing a Wedding Invitation Printing Service in the UK
When you choose a printing service, look for one that offers the sizes and finishes you want. Ask for a sample pack before you order. Check the paper weight, the quality of the printing, and how the colours look. If you want foil, ask to see a foil sample. Many print shops offer a design service if you need help with layout.
You can find printing services online or on the high street. In London and Manchester, there are many independent print shops that specialise in wedding stationery. Search for a local print shop and visit in person to see their work. Ask about turnaround times, especially if your wedding is soon. Remember that you must give notice at least 28 days before your ceremony, so order your invitations with plenty of time to spare. A good printing service will help you get the perfect fit for your envelopes and your budget.
Checklist
- Decide on your invitation size: A6, A5, or square.
- Measure your invitation and inserts to choose the right envelope.
- Order a sample envelope to test the fit.
- Set your design software to the exact final size with 3 mm bleed.
- Keep text at least 5 mm from the edges.
- Export your design as a high-resolution PDF at 300 dpi.
- If printing at home, choose card of 250 gsm or more.
- Test your printer with a sample card before printing the final batch.
- If adding foil, test your cutting machine or foil fuser on scrap card.
- Ask a printing service for samples before you commit.
Questions on this topic
- How much should 50 wedding invitations cost?
- Where can I print my own wedding invitations in the UK?
- What is the usual size of wedding invitations?
- What is the best way to print invitations?
- How much do save the date usually cost?
- What are the trends in wedding invitations for 2026?
- Is it cheaper to make your own wedding invites?
- What is the average cost of wedding invitations?
 Save the date cards
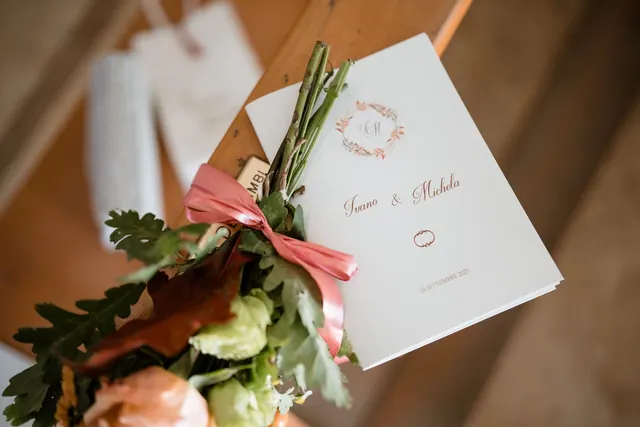 Order of service booklets
 Table plan boards